Last Updated on June 2, 2022 by Prabhakar A
In this article, you can learn the three different methods to install WordPress theme to any website easily to create your own blog or website.
WordPress is a wonderful way out for creating your own website or blog. It is a very interesting tool as more than 44.3% of the websites on the internet are contained by WordPress alone. It is a very large number. The main reason why professionals choose WordPress is because of its different themes and layouts.
Know more: How to Do SEO Optimization of a WordPress Site Taking Into Account Every Detail?
WordPress allows its customers a tool that helps them in changing the design and layout of your website. This tool helps in optimizing the website’s appearance in terms of its typography, color, and many other design elements.
Choosing an appealing theme can help your website grow more in terms of attracting traffic and making it more user-friendly. Along with this, you should also know about the 10 uses of world wide web (www) for your business websites. It provides you with excellent information that will help you to know the importance of WWW.
If you are a beginner or a person who is familiar with WordPress but does not have a great knowledge of its great themes then this article is the best for you to understand how to install a theme in WordPress and give your website a boost.
Find more: 5 Common WordPress Errors and How to Avoid Them
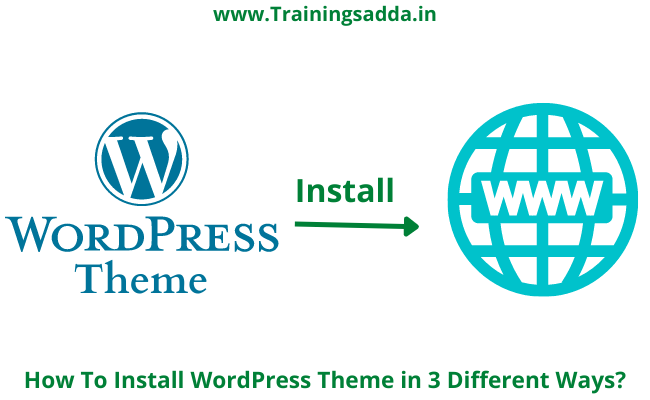
There are three different methods of installing a WordPress theme, let’s find out here.
Table of Contents
3 Different Methods of Install WordPress Theme
1. The Direct Method
- Start with logging in to your WordPress account.
- On the left side of the menu, click on the option saying Appearance and select Themes under its subheadings.
- Select the option “Add New”.
- Just after clicking the Add New Button, you will be able to see the featured themes, popular themes, or the latest theme. There is even an option of enhancing the themes of your own choice having the features you specifically want like, themes with the sticky posts, and layouts, such as blogs, eCommerce, photography, etc.
- After deeply going through all the themes and selecting the one which matches your choice, you can click on the Download option to start downloading it or even you can preview images and browse for other information regarding the theme by clicking on the “More Info” option.
- Once all the selection is done by you, the theme will take a few minutes to get installed. It will not directly get live until you have not clicked on the “Active” button shown on the footer.
Know more: Use SNAP Carefully To Post Automatically To Instagram From WordPress
2. Install WordPress Theme using the Upload Method
In case, you have found a premium or a customer theme from a third party, you can upload it using WordPress in just a few easy steps:
- Before starting to install the theme of your choice, you should make sure that you must have downloaded the .zip file purchased by you in the theme marketplace or commercial provider.
- After that, log in to your WordPress account and click on the Appearance on the left of the menu, and select Themes.
- After clicking on the theme, a new page pops up. There select the option saying “Add New” on the header.
- Then click on the upload Theme on the top of the page near Add Themes.
- Then you will be provided with an option of choosing the file of your own choice name “Choose File” and upload the .zip folder you have downloaded. Then click on the Install now button and your file will be inserted.
- Once your file is inserted, a message will be shown saying the theme is installed successfully. Just after that you again have to click on Activate to make your theme live on your website.
Know More: Top 15 Free Accelerated Mobile Pages (AMP) Plugins for WordPress Themes
3. Install WordPress Theme using FTP (File Transfer Protocol)
If you choose a theme for your site whose file is large, you won’t be able to upload it manually. Thus, you will have to upload it using an FTP. Follow these steps to do so:
- Download FTP Client– As the first step, you will need to download the FTP client in your PC, which is software that helps you to add, delete and have complete access to all the files on your website server.
- Create an FTP account– You will now need to have access to your account on your hosting provider through the means of your FTP client. The username and password that you used to create your account on your hosting provider will be required by your FTP client in order to create a new account.
- Download the theme– Download the theme file to your computer. Unzip and compress your file which originally is in the .zip format.
- Upload theme to WordPress– Find the root of your WordPress theme in the FTP Client software. Open the wp-content folder, and click on “Themes”. Upload the complete folder of the theme you downloaded and unzipped.
- Activate theme– In the “Themes” section of your WordPress dashboard, you will now be able to see the new themes that you have uploaded. Select the theme you want to add and click on the “Activate” button to apply it to your website.
Adding plugins to your site– If you are installing a third-party theme, you might as well install some useful plugins to your WordPress site to make it more dynamic, and easy to use. A combination of the perfect theme and adequate plugins will make your website much more likable to the visitors, and thus increase the traffic to your website.
Read more: 10 Trending Social Media Plugins
Therefore, you can easily customize your WordPress website according to your liking. If you are still using the basic WordPress theme, why wait? Choose a new theme now and install WordPress theme with the easy steps mentioned above.
Comments
0 comments