It can be distress to watch recordings online as you have to hold up tablet or until and unless a raw process is completed successfully. It can also take a longer time causing annoyance to the customers. To fix such brain-teaser issue, go for a signal booster (extender). With the help of this gadget, the range of your existing WiFi network can easily get extended. As the matter of fact, recordings on your smart wireless device will get loaded without any delay. Netgear new extender setup process is very simple.
You just have to plug it into a wall socket and you will see that it begins to work without much efforts or hard work on your part. Nowadays, it has become easier to connect your home or wireless network since you don’t have for Ethernet/ USB cables everywhere you just need an active and reliable internet connection.
So, are you looking for how to setup a Netgear WiFi extender? If your answer is a big yes, then you have landed on the right post.
Table of Contents
How to Setup a Netgear WiFi Extender
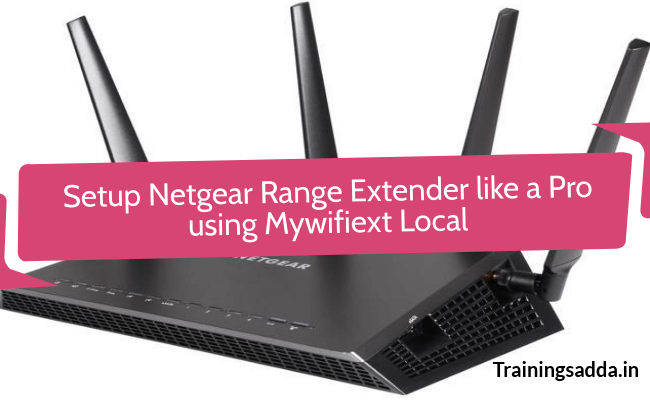
You simply have to log in to mywifiextnet local and follow the rose petal steps given on-screen.
WiFi/ wireless range extenders are also known as wireless repeaters, signal boosters, and range expanders. These are used to perk up the existing WiFi coverage for smartphones, tablets, game consoles, computer, laptop and more. On the other hand, range extenders also help in eliminating dead spots, blind spots and works with your existing WiFi-enabled devices easily.
The installation process is very easy. Simply use the configuration CD or mywifiext net smart wizard for initial extender setup. The main problem during the setup process of your Netgear device is that it doesn’t open mywifiext local.
The internet browser of yours keeps on showing error messages again and again. This issue can easily be fixed by removing the cache, cookies, browsing history, malware, and temporary files. Another problem while accessing the web URL is that the default login credentials do not work.
To fix this problem permanently, call our service provider of Netgear on 1-888-674-6890.
Handy Tactics for Netgear WiFi Range Extender Setup
There isn’t any second thought to the fact that the setup process of Netgear WiFi range extender is a boon for all those users who want to boost up their network range to a great extent. WiFi range extenders are those networking devices that receive the existing signals and then amplify it to dead zones, blind spots, and poor connectivity of the house or workplace.
The web address that is intended to setup Netgear WiFi extender with ease is mywifiext.net. At times, it also shows an error screen like “page not found” or “unable to connect”. Thus, users are unable to access it.
This happens only because mywifiext is just a local web address not a regular website on internet. Therefore, users failed to connect to the setup page of it. To get rid of this issue, connect the range extender to available network wired or wirelessly.
Easy Process for Netgear Extender Setup
Netgear range extenders can be set up in two ways: Manual method and WPS method.
Manual Method
If your range extender has an Ethernet port, walk through the creamy smooth steps given below to set up it up manually:
- Connect to your range extender to a computer or laptop.
- Log in to the web page of mywifiext.
- The login page asks for default login credentials (username and password).
- In case you don’t have a valid account, create one using email and password according to your preference.
- As soon as the login page of your Netgear range extender opens up, select router network.
- Enter the security key (password) and click on Continue.
- Apply settings.
And that’s it. The process of Netgear extender setup has successfully been completed. Now, you can see four solid green lights on it.
If you don’t see any LED or facing an issue during the setup process, then don’t delay in calling our technical department.
But hold on. What if your range extender doesn’t have an Ethernet Port? Well, need not to worry, just follow the light and smooth instructions below:
- Reset your device once.
- Use the default IP address of your device instead of the web URL.
- Change the default login credentials.
- Follow the setup wizard and connect to your existing router.
- Update the firmware of your existing device with the latest and updated version of technology.
In this way, you can set up your WiFi booster with an Ethernet port.
Still have questions on how to setup Netgear extender? If yes, then don’t forget that we are sitting just beside you. Give us a call and get rid of all the brain-teaser and annoying issues instantly.
WPS (WiFi-Protected Setup) Method
The WPS method for range extender setup is very simple. Only a few steps and you are done.
- Power on your range expander (extender).
- Hit the WPS button on it.
- The blinking LED light shows that the extender has started to configure with your existing router.
- After some time, there will be three (3) solid green lights which signify that your Netgear device is properly configured.
Good Job! You have successfully configured your range extender. Now, the extended network for both frequency bands will broadcast. Connect all wired or wireless devices to extended network and start taking benefits from the internet by streaming your favorite online shows and movies.
Comments
0 comments